Red Velvet Cake Recipe ❤️🍰
Red Velvet Cake Recipe
If you’ve ever cut into a red velvet cake and found dry, crumbly layers or a frosting that tastes like sweetened cream cheese soup, you know how disappointing it can be. This recipe fixes all of that. It gives you a velvety, tender crumb with a deep red color and a tangy cream cheese frosting that balances every bite. It’s straightforward enough for a beginner but impressive enough for a birthday party or Valentine’s Day centerpiece. And because it relies on real buttermilk, a little vinegar, and a touch of cocoa, it tastes like red velvet should—not like red food coloring with sugar.
Why This Recipe Works
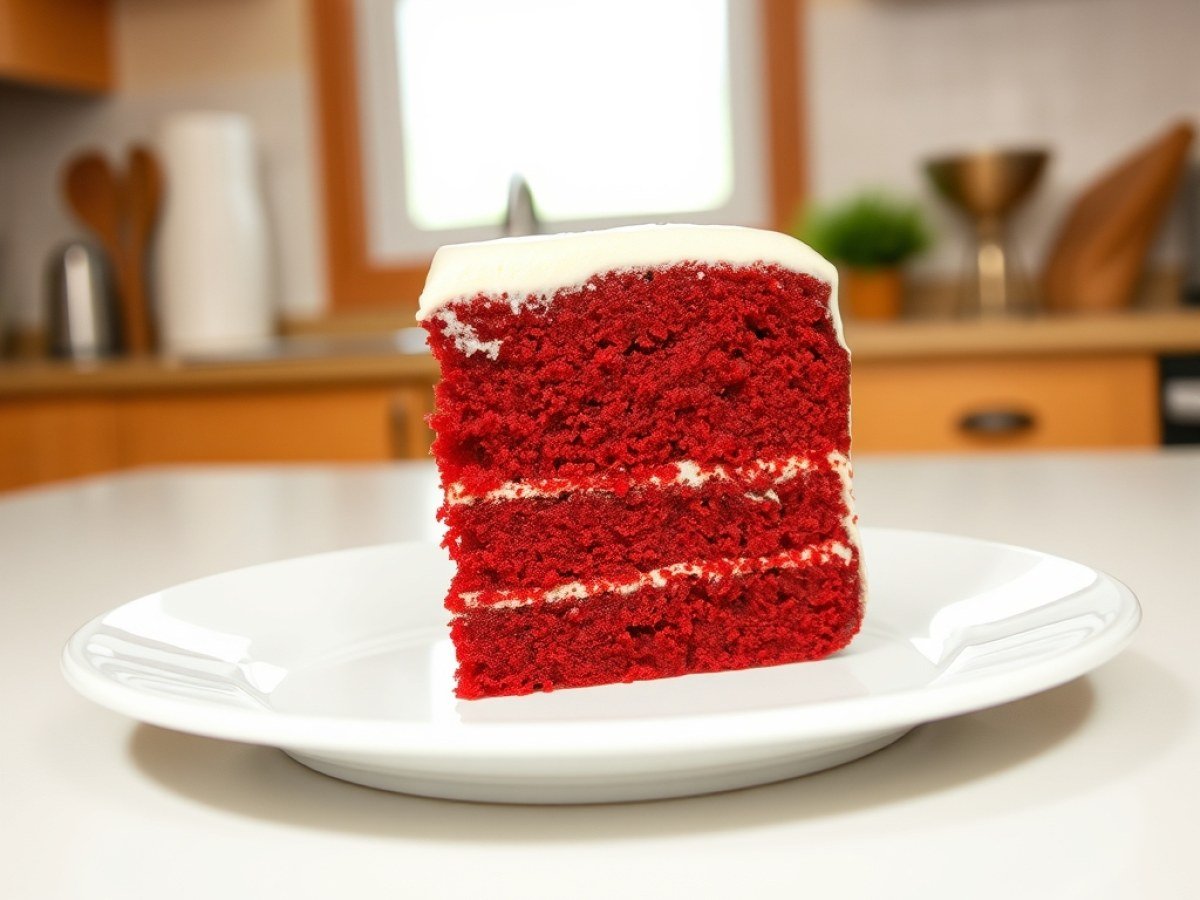
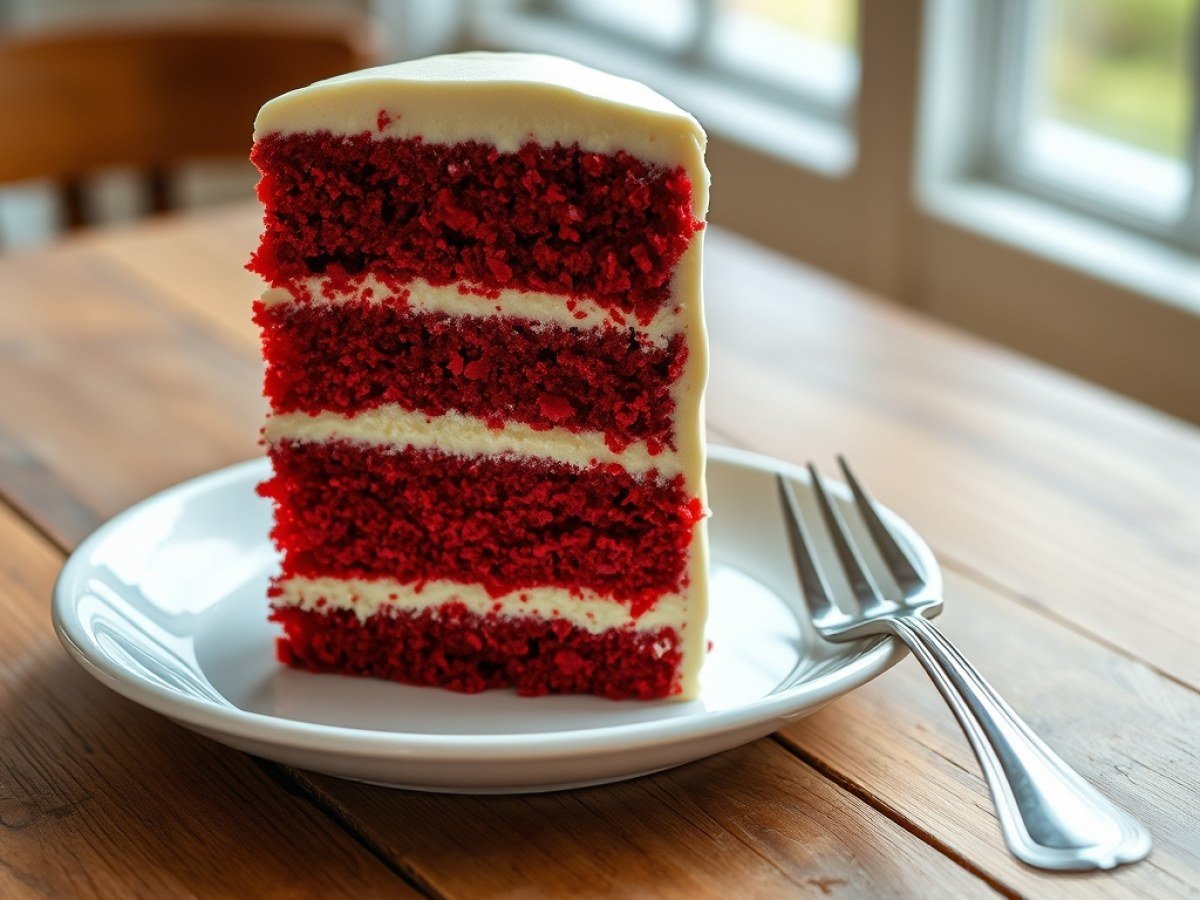
- The buttermilk and vinegar react with the baking soda to create a light, tender crumb that stays moist for days. This acid-base reaction is what gives red velvet its signature softness.
- A small amount of cocoa adds depth without turning it into a chocolate cake. The red color is actually enhanced by the acid in the buttermilk and vinegar, which helps the food coloring stay vibrant.
- The reverse-creaming method—where you mix softened butter into the dry ingredients before adding the wet—coats the flour in fat and minimizes gluten development. That means a velvety texture instead of a tough, bready one.
- The cream cheese frosting is tangy and stable, not overly sweet. It complements the cake instead of overpowering it, and it holds its shape well for piping or swirling.
Servings: 12 | Prep time: 25 minutes | Cook time: 30 minutes | Total time: 1 hour 55 minutes (including cooling and chilling)
Ingredients
For the cake:
- 2 1/2 cups (300g) all-purpose flour
- 1 1/2 cups (300g) granulated sugar
- 1 teaspoon baking soda
- 1 teaspoon fine salt
- 2 tablespoons (12g) natural unsweetened cocoa powder
- 1 1/2 cups (360ml) buttermilk, at room temperature
- 2 large eggs, at room temperature
- 1 1/2 teaspoons distilled white vinegar
- 1 1/2 teaspoons vanilla extract
- 2 tablespoons (30ml) red food coloring (gel or liquid)
- 1/2 cup (113g) unsalted butter, softened but still cool
- 1/4 cup (60ml) neutral oil (like canola or vegetable)
For the cream cheese frosting:
- 8 oz (226g) full-fat cream cheese, softened
- 1/2 cup (113g) unsalted butter, softened
- 3 cups (360g) powdered sugar, sifted
- 1 teaspoon vanilla extract
- Pinch of fine salt
Instructions
- Prepare pans and preheat oven: Preheat oven to 350°F (175°C). Grease two 9-inch round cake pans, line the bottoms with parchment paper, then grease the parchment and dust with cocoa powder (not flour—this avoids white streaks on the dark red cake). Tap out any excess cocoa.
- Whisk dry ingredients: In a large bowl, whisk together the flour, sugar, baking soda, salt, and cocoa powder until evenly combined and no lumps remain. Set aside.
- Combine wet ingredients: In a medium bowl or large measuring cup, whisk the buttermilk, eggs, vinegar, vanilla, and red food coloring until smooth and uniformly red. Make sure there are no streaks of uncolored buttermilk.
- Reverse-cream butter into dry mix: Add the softened butter and oil to the dry ingredients. Mix on low speed with an electric mixer (or with a sturdy spatula) until the mixture resembles coarse sand and no butter lumps remain, about 1–2 minutes. Scrape the bowl and beater.
- Add wet ingredients and mix: Pour half the buttermilk mixture into the dry mixture and mix on low until just incorporated. Add the remaining buttermilk mixture and mix until smooth, about 30 seconds. Scrape the sides and bottom of the bowl, then mix a few seconds more. The batter will be thin—that’s correct.
- Bake: Divide the batter evenly between the prepared pans (about 2 cups each). Bake for 25–30 minutes, until a toothpick inserted into the center comes out clean and the cake springs back when lightly pressed. Rotate the pans halfway through if your oven has hot spots.
- Cool: Let the cakes cool in the pans on a wire rack for 10 minutes. Run a knife around the edges, invert onto racks, remove the parchment, and cool completely, about 1 hour.
- Make frosting: In a large bowl, beat the cream cheese and butter on medium-high until smooth and creamy, about 2 minutes. Add the powdered sugar, vanilla, and salt; beat on low until incorporated, then on high for 1–2 minutes until fluffy. If the frosting is too soft, refrigerate for 15–20 minutes before using.
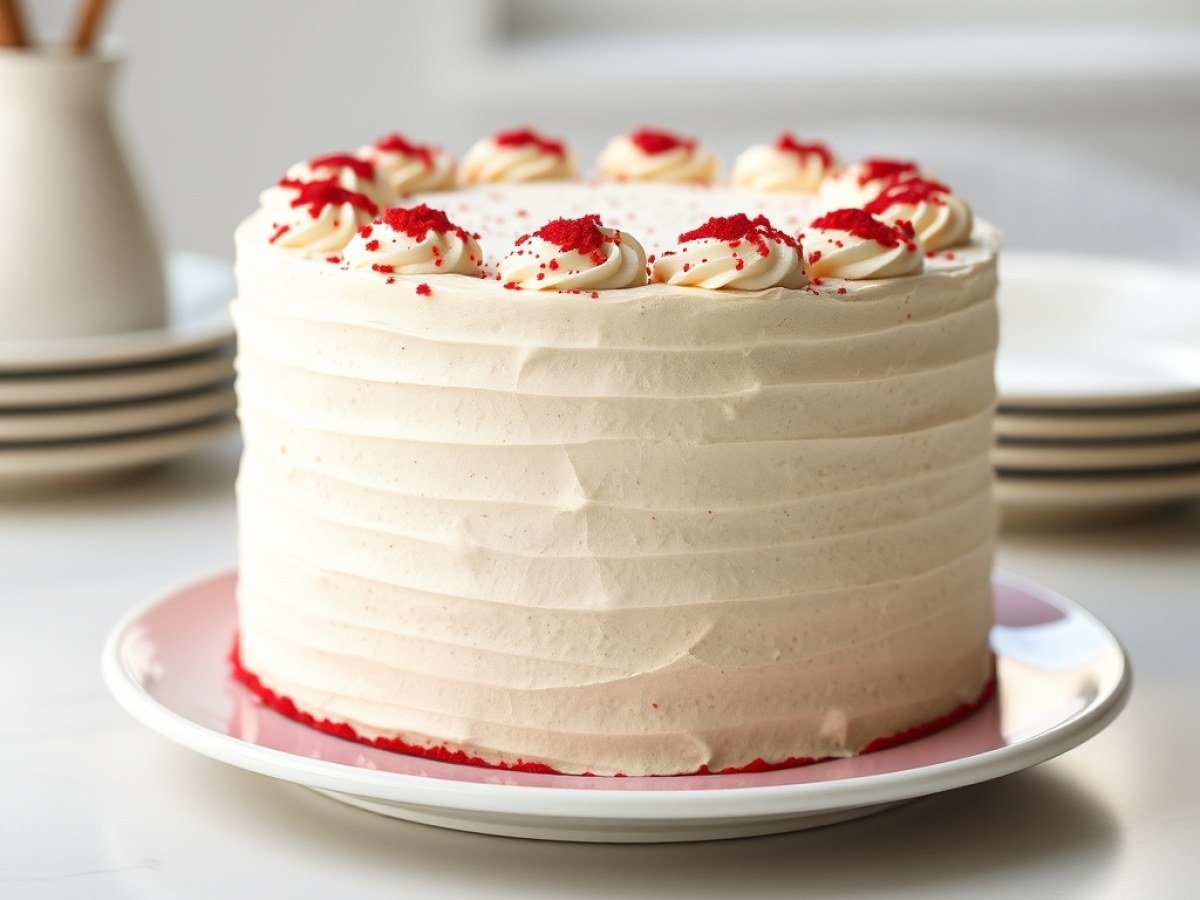
- Assemble cake: Place one cake layer on a serving plate. Spread about 1 cup of frosting evenly over the top. Place the second layer on top, flat side down. Spread the remaining frosting over the top and sides. For a cleaner look, do a thin crumb coat first, chill for 15 minutes, then add the final coat.
- Chill and serve: Refrigerate the cake for at least 30 minutes to set the frosting before slicing. Bring to room temperature 15–20 minutes before serving for the best flavor and texture.
Tips & Variations
- For a deeper red, use gel food coloring (about 1 tablespoon) instead of liquid. Liquid coloring can water down the batter and dull the color.
- Room temperature ingredients are key. Cold buttermilk or eggs can seize the butter and make the batter curdle, leading to a lumpy texture.
- No buttermilk? Make a substitute. Stir 1 tablespoon of lemon juice or white vinegar into enough milk to make 1 1/2 cups. Let sit for 5 minutes until slightly curdled, then use as directed.
- Don’t overmix after adding the wet ingredients. Stop as soon as the batter is smooth to keep the crumb tender. Overmixing develops gluten and makes the cake tough.
- For a cupcake version: Fill liners 2/3 full and bake at 350°F for 18–20 minutes, until a toothpick comes out clean. This recipe makes about 24 cupcakes.
- To avoid red-stained teeth, use a natural red food coloring (like beet powder) or reduce the amount and add a touch of red gel. The cocoa powder helps mask any beet flavor.
- For a more stable frosting, replace 2 tablespoons of the butter with 2 tablespoons of shortening. This helps the frosting hold up in warm weather without sacrificing flavor.
Storage & Make-Ahead
Store the frosted cake in an airtight container in the refrigerator for up to 5 days. Unfrosted layers can be wrapped tightly in plastic wrap and frozen for up to 2 months; thaw in the refrigerator overnight before frosting. The frosting can be made ahead and refrigerated for up to 3 days; bring to room temperature and re-whip before using. To freeze a frosted cake, freeze it uncovered until firm, then wrap tightly and thaw in the refrigerator overnight.
Nutrition Information
- Calories: 520
- Carbohydrates: 67g
- Protein: 5g
- Fat: 26g
- Saturated Fat: 14g
- Fiber: 1g
- Sugar: 50g
- Sodium: 330mg
These values are an estimate and will vary based on exact ingredients and serving size.
FAQs
Can I make red velvet cake without buttermilk?
Yes. Combine 1 tablespoon of lemon juice or white vinegar with enough milk to make 1 1/2 cups, stir, and let sit for 5 minutes until slightly curdled. Use as directed.
Why did my red velvet cake turn out dry?
Overbaking or overmixing are common culprits. Bake just until a toothpick comes out clean, and mix only until the ingredients are incorporated. Also, measure flour by spooning it into the cup and leveling off—scooping directly can pack in too much flour.
Can I use this recipe for cupcakes?
Absolutely. Line cupcake pans with paper liners and fill each 2/3 full. Bake at 350°F for 18–20 minutes, until a toothpick comes out clean. This recipe makes about 24 cupcakes.
How do I get a bright red color without a chemical taste?
Use gel food coloring, which is more concentrated and doesn’t add liquid or flavor. Start with 1 teaspoon and add more until you reach the desired shade. A little cocoa powder also helps deepen the red.
Can I make this cake ahead of time?
Yes. The cake layers can be baked, cooled, wrapped tightly, and stored at room temperature for 1 day or frozen for up to 2 months. The frosting can be made up to 3 days ahead and refrigerated; bring to room temperature and re-whip before using.